Our Equipment list for smartphone video
You can improve your smartphone video greatly investing in a good microphone, stabilization and lighting. What type of equipment depends on the situation and of course your budget.
In this smartphone gear overview, I’ll address three types of essential equipment to help you create professional videos with your smartphone:
1. Microphones
2. Stabilizers
3. Lighting
Disclaimer: All equipment in the list I own and use myself, unless mentioned. The equipment list contains affiliate links to amazon.com and we do earn a small commision if you purchase through these links. I do encourage you to check pricing on different platforms as well, such as B&H or support your community by purchasing local.
Microphones: good audio is everything.
Adding an external mic to your Smartphone is a great way to improve your audio. The choice of mic depends on the type of video you intend to shoot. Lav mics are a great solution to capture good audio while eliminating environment noise. However if are interviewing on the go at an event asking if you can hook up a lav mic will likely ruin the spontaneity of the moment. Going wireless can be very convenient, but if you are on a budget you can often find work arounds. It is often better to own one good mic, than many different low budget mics. Because with video, good audio can make all the difference!
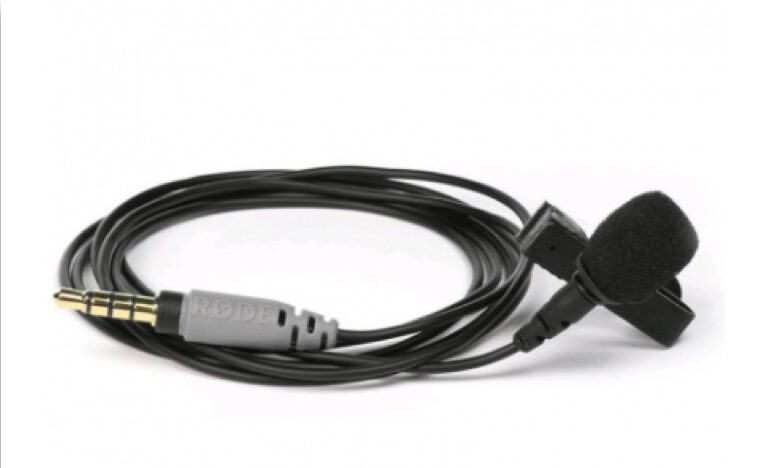
Rode Smartlav+ (~$75)
Clip-on mic for smartphones (paid link)
Works on most smartphones (double check). I found the mics easy to use and offer good quality for good value.
Note: order an extension cable.
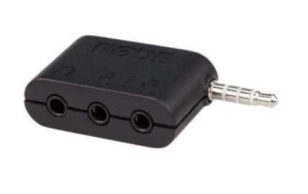
Rode dual mic/headphone splitter (~$25 or ~$75 for iOS)
Great for using two microphones on your phone (when you don’t have the duo mics), and also having the option to listen along on headphones. Rode has two versions. The Rode SC6, as pictured here and the SC6-L with an iOS interface.
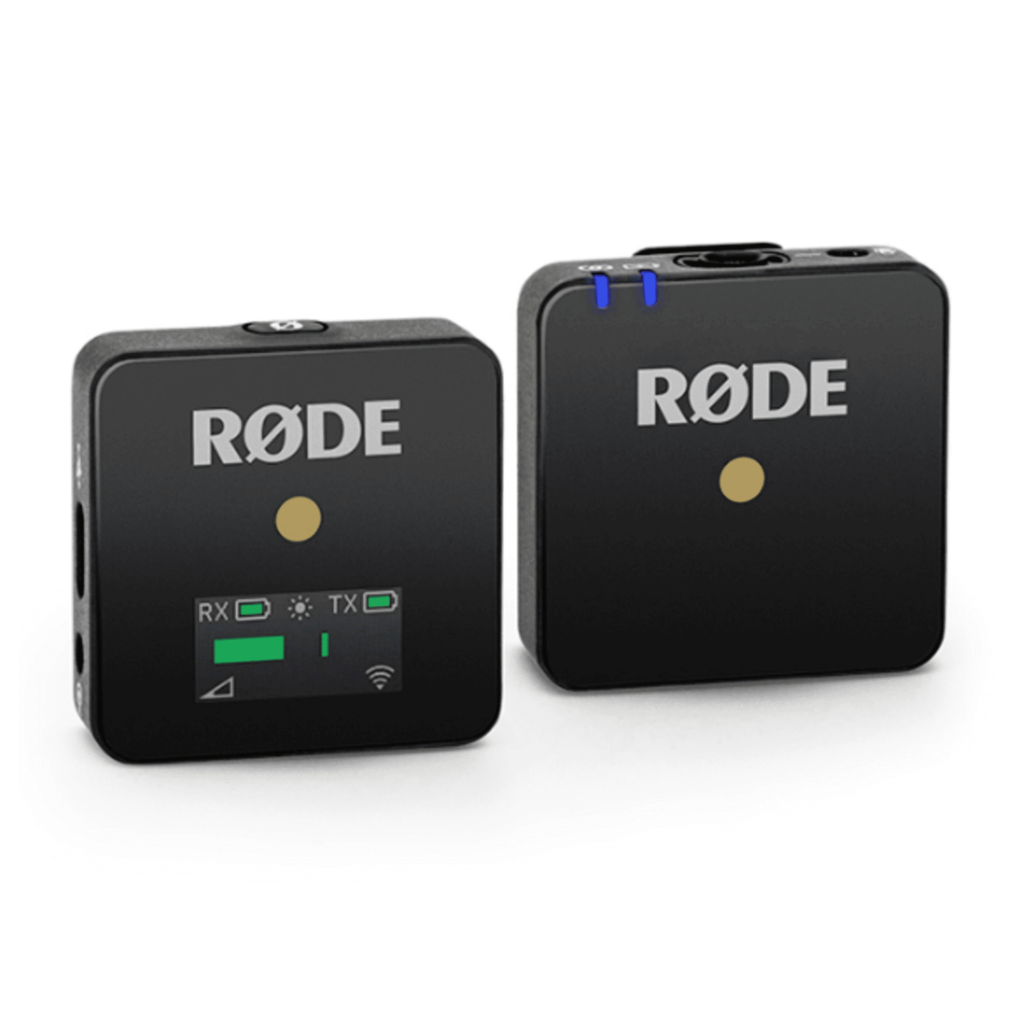
Rode Wireless Go (~$225)
Super compact wireless microphone system. Clip-on microphone and transmitter, plus receiver and windscreens. Wonderful for on the go when you need freedom of movement. You can only use one microphone per receiver. Great audio up to 70m range. Watch explainer video here.
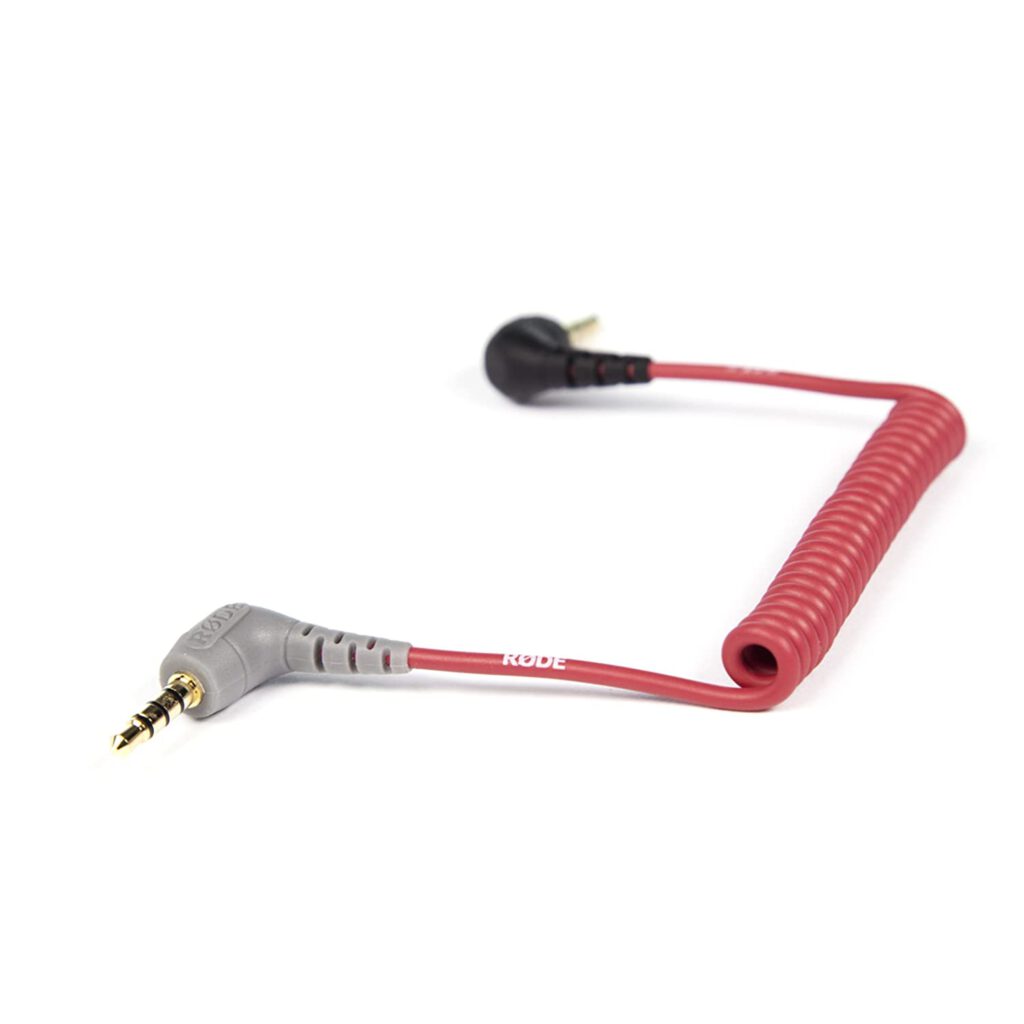
SC7 cable (~$22.50)
To connect the Rode Wireless Go System to your smartphone, you’ll need the SC7 cable (paid link). Otherwise it won’t connect to your phone.
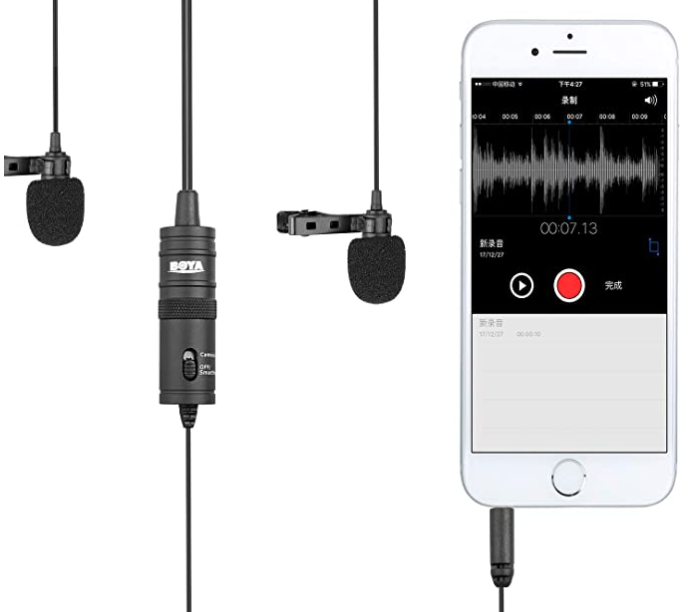
Boya Dual Lav Mic (~$40)
If you need two lav mics for interviewing these 2 clip-on mics (paid link) are a lower budget solution (compared to two rode smartlav+ mics plus extension cables and the splitter). They work on most smartphones (double check if they work on your phone).
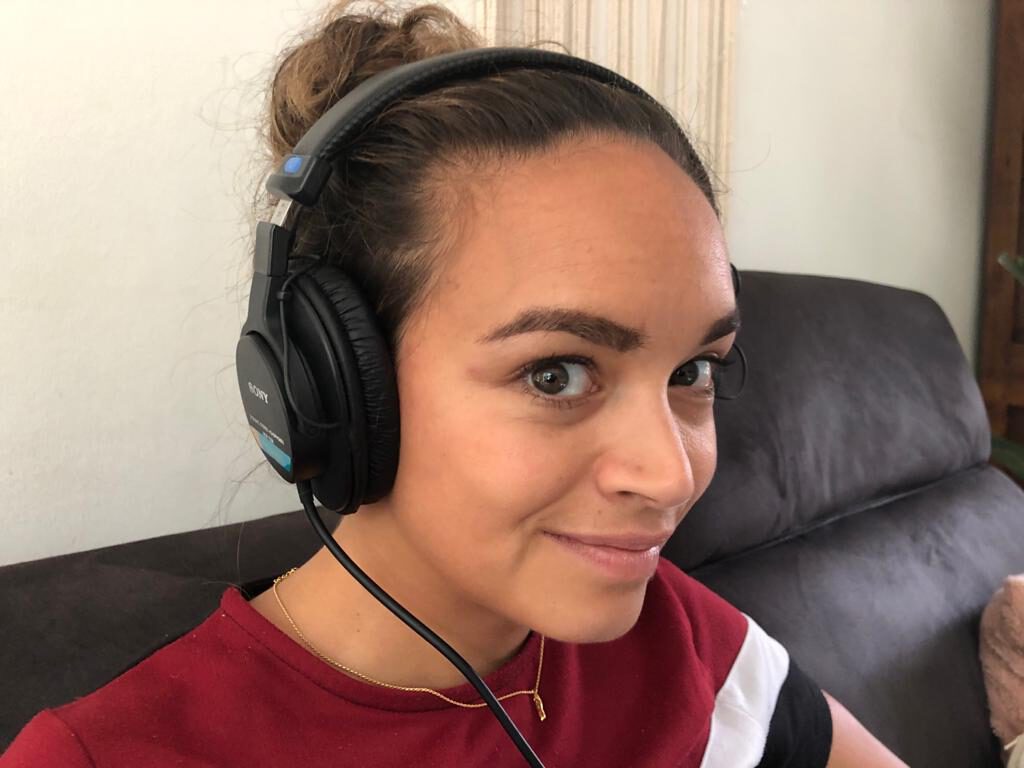
Sony MDR-7506 (~$95)
For monitoring sound I use professional headphones (paid link) that are specifically designed for sound monitoring. Over the ear headphones are better as it isolates the sound from the mic you are checking. Always double check the audio quality before filming. If you are doing an importing video I recommend also monitoring the audio during the shoot. They are also great during editing. There are also lower budget option like these (paid link) from OneOdio. I do not own these but the reviews are good.
Stabilization: a great way to professionalize your videos
There a numerous ways to support and stabilize your smartphone or camera. Below we describe a few.
Portable stabilization
Sure, heavy duty, high quality tripod have their purpose. But let’s be honest, it is not exactly practical to be carrying one around with you. Especially when it’s just you. Let’s start with some options that provide the most mobility.
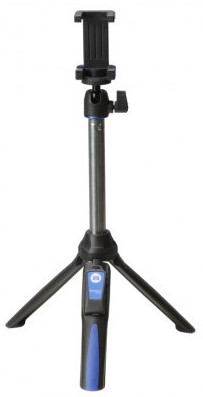
BENRO Handheld Tripod 3 in 1
I always carry this selfie stick and tripod in one (paid link). It’s portable, light, and easy to use. Perfect for video shoots standing behind a desk & filming on the go.
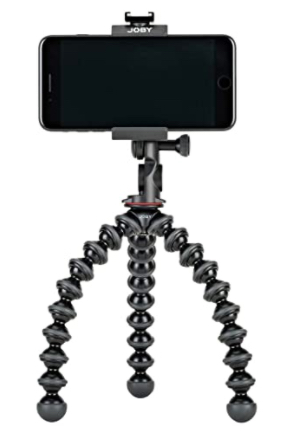
Joby GripTight
I carry this around everywhere I go. Why? With this gorilla pod (paid link) and some creativity you can steady your smartphone everywhere as you can warp the legs around steady objects in the space you like to shoot. But you also just set it up on a table. My (slightly) older version does not have the shoe mount on top of the phone holder, however this addition is great as it allow you to secure a light or mic on top. You an also remove the phone holder and mount in on a tripod for example.
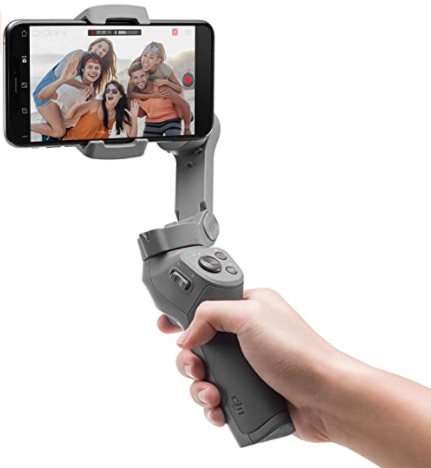
DJI Osmo Mobile
A selfie stick with an awesome stabiliser (paid link)! Great for dynamic shoots in landscape format. Can recognise faces and follow (no cameraman needed!)
Double check compatibility with your phone. We own the previous version. The latest model is more compact and has some great upgrades.
Full Size Tripods
Mini tripods and selfie sticks have a big drawback. They don’t reach up to eye level. However even when buying a full size tripod you have to pay attention. Many on the market do not reach eye level, which is important as it’s simply more natural to talk to a camera while standing. Below are a couple of options.
Endurax 66″ Tripod (~$30)
A low cost option is this tripod (paid link) from Endurax. I could no longer find the low cost model I own, so I think something similar. This verions has good reviews on amazon, is lightweight and reaches 66″, which mean you can also reach eye level for taller person.
Smartphone tripod mounts
Most tripods do not come with mounts for your smartphone. If you find one that does, that is great. Here are the mounts that we own and work well for us.
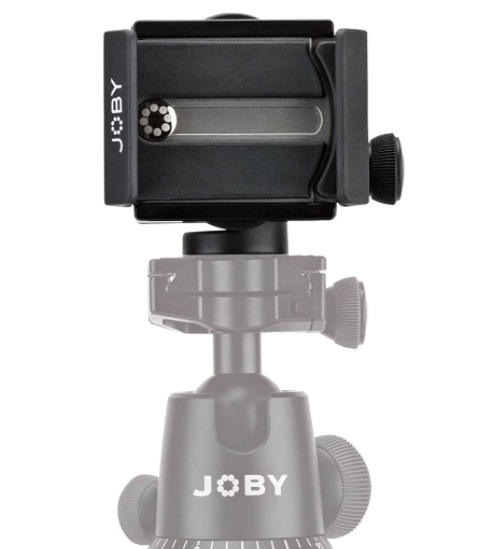
GripTight Mount PRO (~$25)
Holder for your smartphone (paid link) which easily switches between landscape and vertical filming. I place this mount on my selfie stick or tripod. But can also combined with the flexible gorillapod.
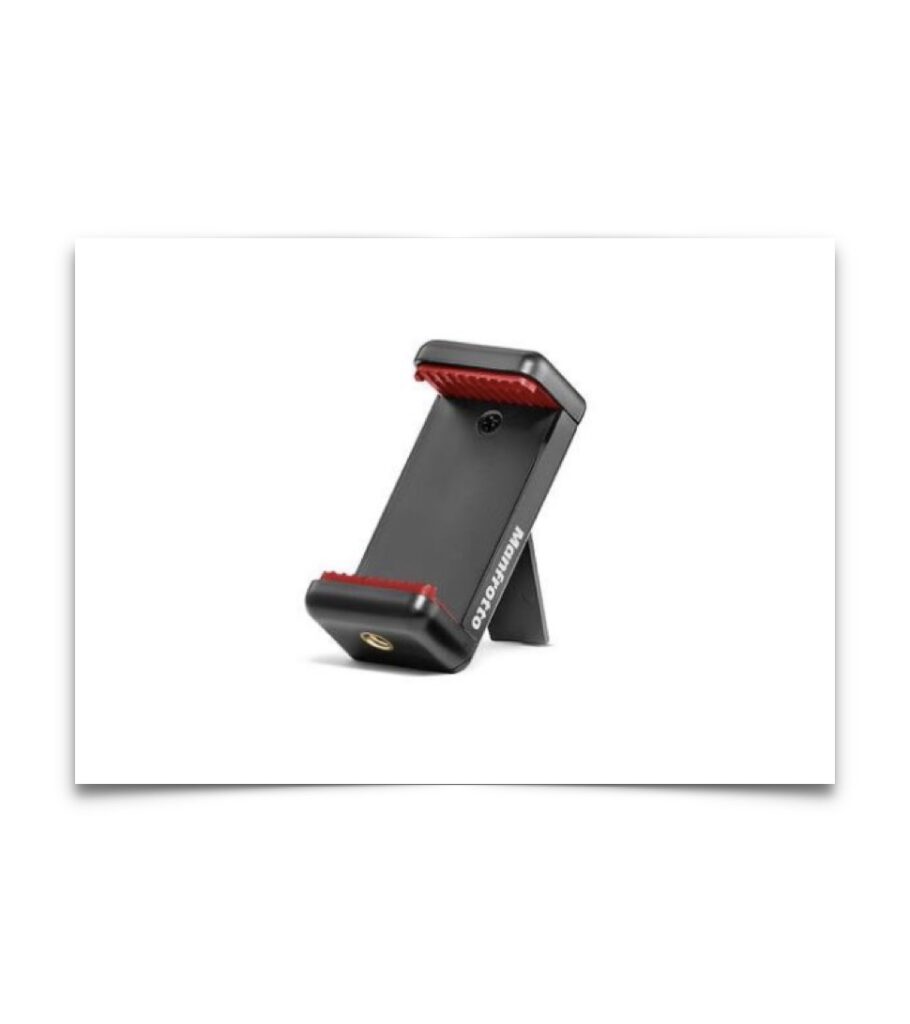
Manfrotto universal cell phone mount – (~$12)
Holder for your smartphone (paid link) which is perfect for landscape filming. I place this mount on my selfie stick or tripod. But it can also be combined with the gorillapod.
Lighting
I love using natural light, but it’s not always available. Investing in lighting is therefore a must when you have to shoot after sunset or in a darker room. Lighting can also be used in combination with natural light. For example, to light out a back-ground or to use a fill light. Here is an overview of the lights that I use.
Key and Fill Lights – Godox LED500W LED panels (~$149 each)
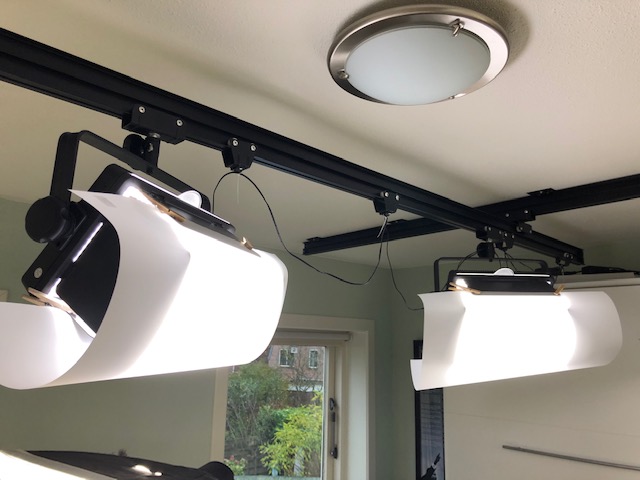
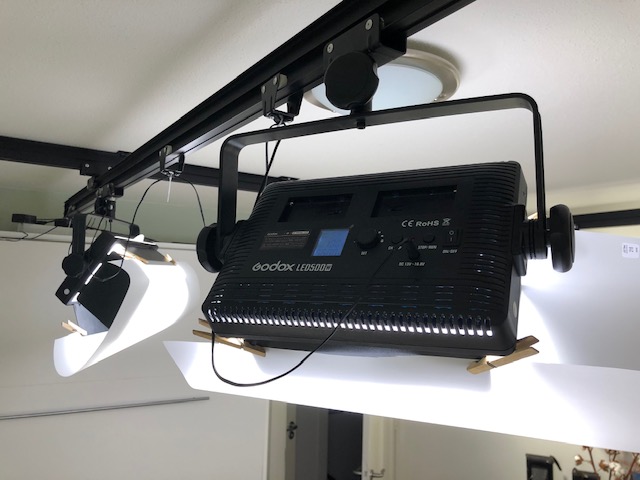
These LED panels (ad) can be mounted on light stands, which are included. We currently have them installed on a ceiling rail system in our home studio to use as the Key Light and Fill light. On the barn doors we have installed extra diffuser filters. This is a low cost way to diffuse the light, which comes across more natural on camera.
These panels are daylight-balanced with a color temperature of 5600, has 500 leds and are rated at 2900 lux. For a Keylight in our studio 2900 Lux is not always enough however. So we sometimes still setup one of our older softboxes. It just takes up a lot of space. Ideally for a keylight we would recommend to go for its bigger brother, the Godox LED1000W (ad), or something similar, which has double the amount of LEDs. Or if you don’t mind the space a softbox takes up, go for something like this GVM 80W LED (ad) Video Light, which includes a softbox. The latter option is also better for your wallet.
If you are on a budget you can also go with a fluorescent lighting kit. (ad). We started with something similar. It just takes up more space, and fluorescent bulb are toxic when they break. This can be a problem with kids or larger pets. Go for at least 4x 45W bulbs per light like this version for sufficient light output.
Hair and background lights – GVM 800D-RGB – LED panels (~ $349 for 3 lights + carry case)
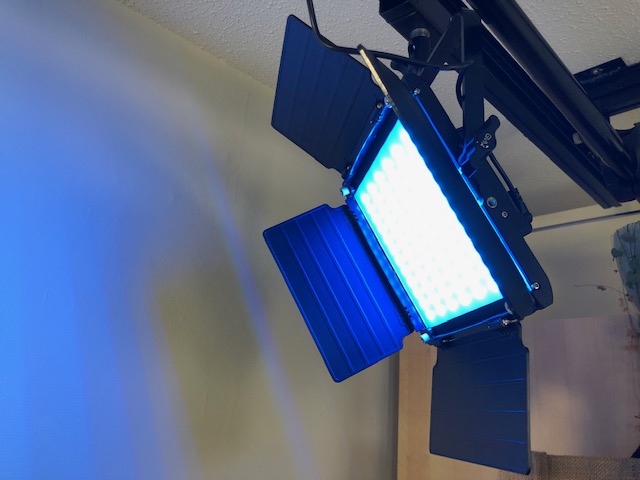
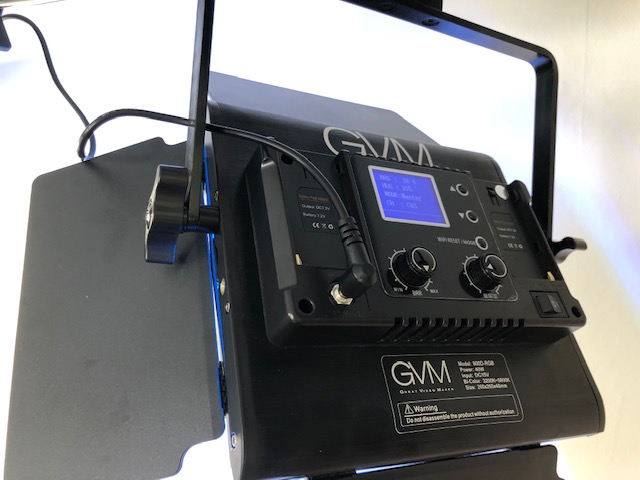
We own a set of three of these panels which includes a very handy case for transport. These lights are more compact than the Godox light. With 168 Led Beads, they are not nearly as powerful however. These lights also have 84 RGB leds however, which means you can play with the color of the lights. We use these panels to light out the background in our home studio for example with two colors. These lights can also be controlled through an app on your phone, which can be very handy.
One of these lights can also be used for your back/hair light.
I prefer to bring the higher output Godox on a shoot, however in combination with natural light these smaller GVM lights will work as well.
Learn more
We hope this overview is helpful. If you like to learn more about using video to help you reach your goals, feel free to check Pelpina’s courses or check out our free articles.